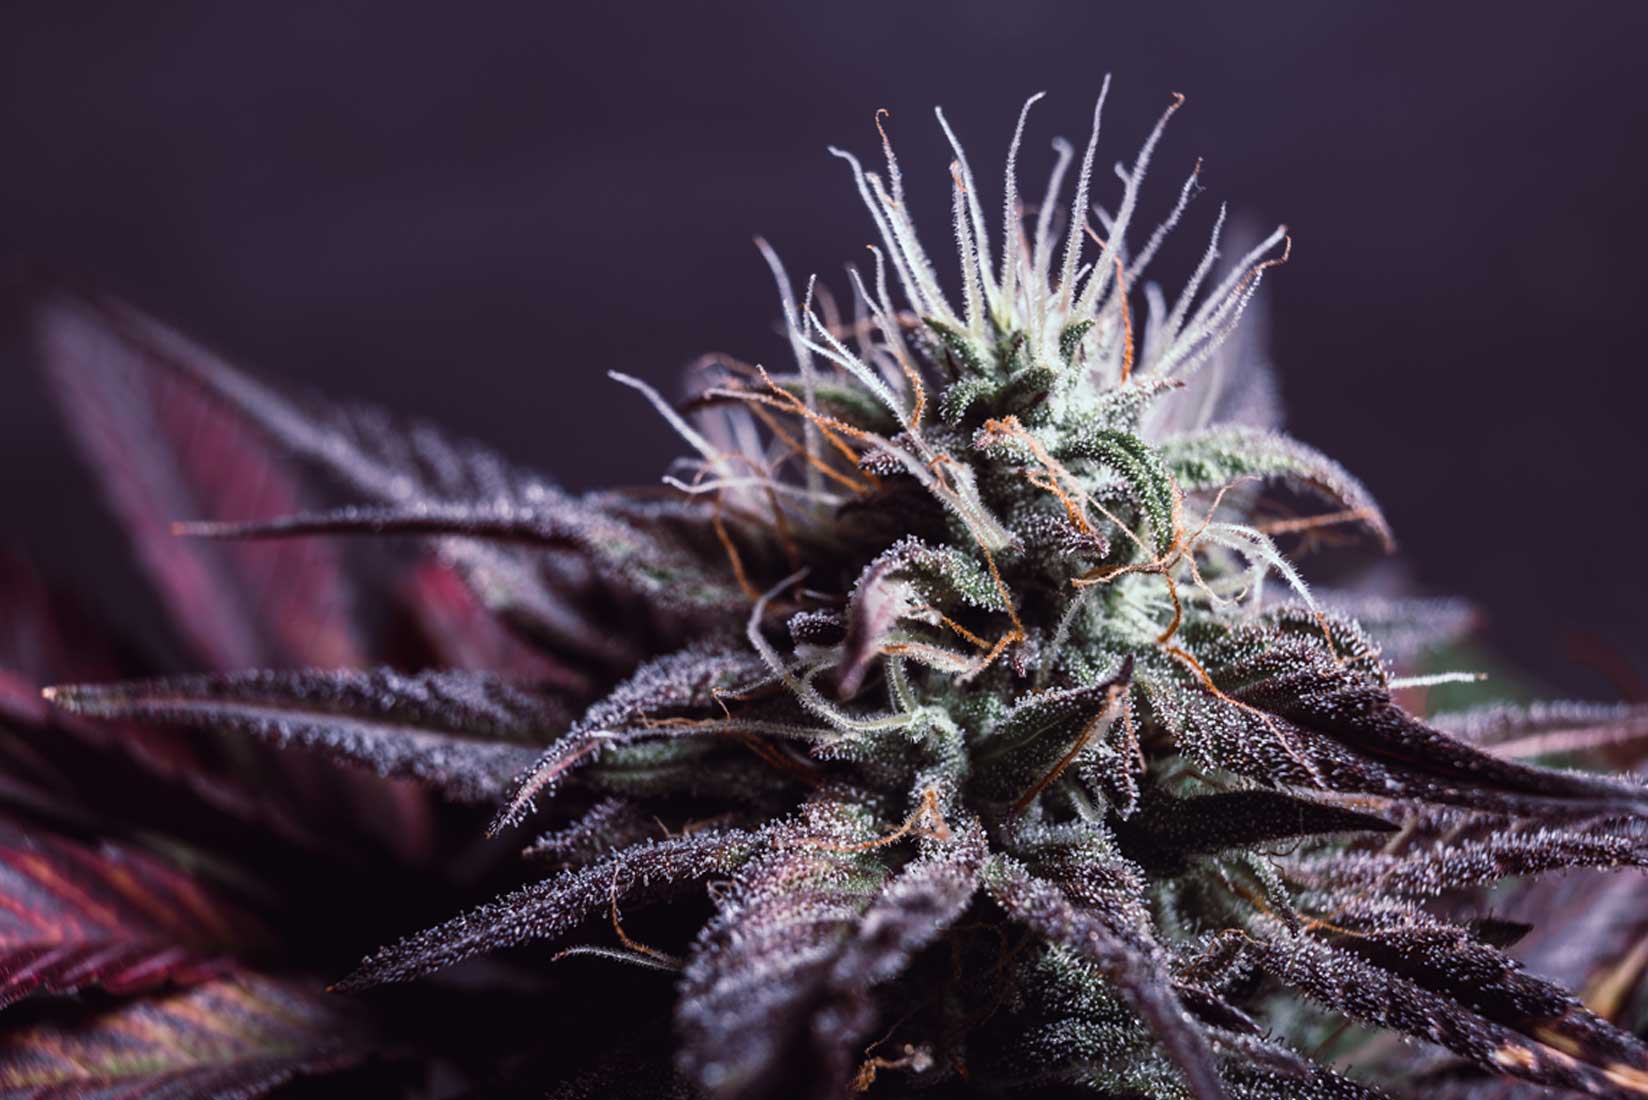
Why does some cannabis photography look so good and some looks like dog shit? It’s all in the details. And to get those details, you need to get really close. That’s where macro photography comes in.
Light it up and get in there.
Macro photos make everything look larger than life. Your subject can fill more of the frame while still being sharp. You’ll notice that your regular camera or phone only allows you to get so close before it can’t focus. The solution is to get a macro photography setup. You can do it on the cheap, or you can really go down the rabbit hole of cool gear. In both setups, the same principles oh good photography apply. You need three things. A macro lens, a good lighting source, and a steady camera.
Good setup = good photos.
We recommend a compact mini tripod with goosenecks and clamps to hold your bud, lights, backdrop cards and/or light diffusers. We love this setup because it’s portable enough to take out in the field with an iPhone, or equally adapt at holding a DSLR with a beast 100mm macro lens. Basically just a flat plate with connections to hold things. For $250, this bundle will get you started with a fantastic multi-color LED light, two plates and goosenecks. One to hold the light, and one for the bud. It’s enough to get the job done wherever you are. Bigger colas may need two clamps if you’re shooting something with a good deal of weight. Of course, there are tons of lighting options out there, so light it up bright. A 3-point lighting setup is best. The key light at a 45º angle from the front, the fill light on the side and the backlight providing illumination on whatever backdrop you have.

Get the best glass.
The most important piece in this equation is the lens. For you phone users, there are some budget mag snap on lenses starting at around $20, like this combo 20x macro/wide angle lens. The larger the magnification, the more likely you are to seeing the trichomes. But with that, the trade off is that you can’t hand hold, as any little shake will give you a fuzzy result. Make sure to check the compatibility with your phone’s camera configuration, always. For a slightly nicer version, we recommend this Moment Macro 10x lens. $100, but worth it the upgrade if you’re going to be doing this a lot.
DSLR macro lens.
Now if you are serious about taking high-quality cannabis photos, then you need a DSLR and a true macro lens. There are too many brands and options to talk about. We have a Canon, so the two go-to lenses are the 65mm 1-5x and the 100mm, but you’ll pay over a grand for them.
Pro Tip: If that’s not in the budget, a great solution is to use extender rings. They work by moving the lens further away from the body of the camera. Look for a set of three; a 12 mm, 20 mm and 36 mm. You can use them individually or together to be able to get right up in there. The greater the length of the tube, the closer you can get. We have this set for our Canon.
With macro photography, one of the limitations is in how much of the subject you can get in focus. By nature, the focal plane is very shallow. You may be focusing on the middle of a nug and both the front and rear are completely out of focus and soft. To get really detailed shots, we need to do a photo composition of many shots, all with a slightly different focus. A tripod mounted focusing rail can be of use. They allow you to move ever so slightly in order to get all of your shots in focus.
Post Production.
We then import those multiple photos into Lightroom for editing exposure and white balance and then batch them to Photoshop layers. Use the Auto-align feature and then viola, you have a professional macro photo to properly showcase the true beauty of the cannabis flower.